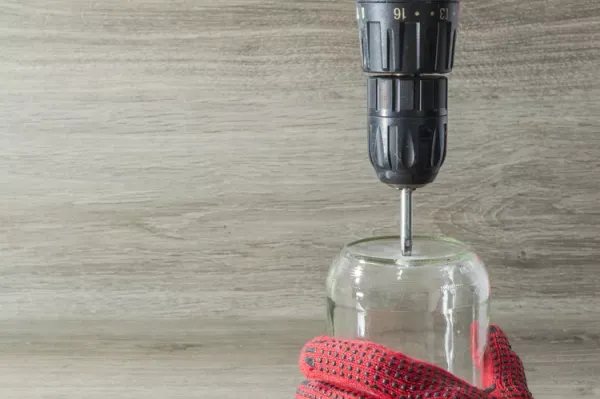
Drilling a hole in glass is a delicate operation that requires precision, the right equipment, and a steady hand. Whether you're crafting wind chimes, repurposing wine bottles, or creating glass jewelry, mastering this skill opens up a range of DIY possibilities. The process, which typically takes about 10 minutes and costs between $10 and $20, is achievable for beginners with the correct approach.
The key to success lies in controlling the drill speed and keeping the glass cool. Unlike wood or plastic, glass is prone to cracking if it overheats or if the drill bit skitters across the surface. Using a cordless drill with a diamond-coated or carbide-tipped bit is essential, as these materials can cut through glass effectively. A continuous stream of water is also critical to prevent heat buildup and to wash away glass dust, which is harmful if inhaled or if it comes into contact with skin.
Safety First: Protecting Yourself and the Glass
Safety is paramount when drilling glass. Always wear safety glasses, gloves, and a dust mask to protect against flying shards and fine glass particles. The water flow not only cools the glass but also helps contain the dust. It is crucial to use only a cordless drill, as water and electricity are a dangerous combination. Never immerse the drill in water; only the tip of the bit should come into contact with the liquid.
Before starting, prepare the glass by placing it on a plywood base with a rubber pad on top to prevent shattering. For flat glass, ensure it is supported from below as well. A piece of masking tape over the drilling spot can help stabilize the bit and prevent it from wandering. Mark the exact location with a marker, then gently clamp the glass, using padding between the clamp and the glass to avoid cracking under pressure.
Setting Up a Water Drip System
To maintain a steady flow of water, create a simple drip system using a clean plastic milk jug. Fill the jug with cool water, cap it, and use a pushpin to make a small hole near the bottom. Keep the pin in place until you're ready to start. Position the jug so that the water stream hits the center of a dam made from plumber's putty, which you've formed into a circle around the drilling spot. Press a small indentation on one side of the dam to allow water to flow away, ensuring the area remains flooded.
When drilling, start with the drill at a low speed to create a dimple in the glass. This initial groove helps guide the bit and prevents it from slipping. If you're having trouble starting the hole, you can remove the putty dam and tape a small square of cardboard over the spot, then drill through the cardboard to steady the bit before replacing the dam.
Patience is essential. Drilling a 1/4-inch hole into a thick glass bottle can take up to 10 minutes. Periodically stop to empty the water and check your progress. As you near the end, reduce the forward pressure slightly to avoid chipping the back edge of the hole.
Tips for a Clean, Safe Hole
Keep the glass cool throughout the process. A continuous water flow, similar to a wet tile saw, is more effective than compressed air for both cooling and dust control. While a hand drill can be used for curved surfaces, a drill press offers more stability. Always run the drill at a slow speed—breakage often occurs when drilling too fast or when the glass experiences sudden temperature changes. Thin glass may not drill well and is prone to breaking, so it's best to use this technique on thicker materials. For small items, you can submerge them in water while drilling, but ensure only the bit gets wet, not the drill itself.
By following these guidelines, you can safely and effectively drill holes in glass for a variety of projects, from home repairs to creative crafts.