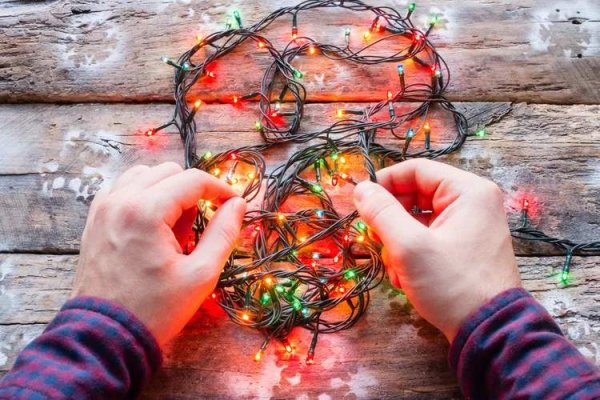
After a year in storage, Christmas lights often refuse to cooperate, leaving homeowners in the dark. The problem can stem from a single burned-out bulb, a loose connection, or a blown fuse, but most issues are fixable with basic tools and a little patience. Here’s a practical guide to diagnosing and repairing faulty holiday lights, so you can get your display glowing again.
The first step is to identify the root cause. Common reasons for failure include dead batteries or a non-functioning outlet, a blown fuse, damaged wires or sockets, or bulbs that are burned out or loose. Sometimes, the connection between bulbs is simply disrupted, which can affect an entire section of the strand.
Start with the Power Source
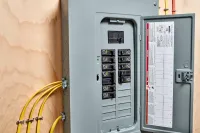
Before inspecting the lights themselves, verify that the outlet is providing electricity. Check the circuit breaker panel to ensure the breaker hasn’t tripped. A non-contact voltage tester can confirm if the outlet is live, or you can plug in a known-working strand of lights to test it. If the outlet is dead, try a different one and consider calling an electrician to repair the faulty outlet. For battery-powered lights, replace or recharge the batteries to rule out a power issue.
Inspect the Fuse and Wiring
If the power source is fine, the next suspect is the fuse. Locate the small compartment on the male plug, open it, and examine the glass fuse. If the metal filament inside is broken or shows dark spots, the fuse is blown and needs to be replaced with a new one of the same amperage. This is a common fix that costs only a few dollars.
Next, unravel the entire strand and carefully inspect the wires and sockets. Look for wires poking through the plastic sheathing or sockets that are crushed, cracked, or misshapen. If you find such damage, it’s safer to replace the entire string rather than risk an electrical hazard. However, you can salvage the undamaged bulbs for future replacements.
Check Bulbs and Connections
Burned-out bulbs are another frequent culprit. Start by ensuring each bulb is seated properly in its socket. Then, look for darkened glass or a broken filament inside the bulb. Unplug the lights before replacing any burned-out bulbs with new ones. If a section remains dark after replacing a few bulbs, the issue may be a broken connection between bulbs. Use a non-contact voltage tester or a dedicated Christmas light tester to check each bulb individually. Alternatively, you can swap bulbs from a working section to identify the faulty ones, discarding any that fail.
If the strand still doesn’t work after these steps, it’s time to replace it with a new string. While this may seem wasteful, it’s often more cost-effective than spending hours on a stubborn problem.
Troubleshooting Pre-Lit Trees
Pre-lit Christmas trees offer convenience but come with their own set of challenges. If the tree doesn’t light up, start by confirming it’s plugged in and the outlet works. Check for a foot pedal or power switch and ensure it’s turned on. For new lights, remove the plastic tab from the remote case and replace or recharge batteries if applicable. Inspect the lights for loose connections or burned-out bulbs, and replace as needed. Check the fuses on the male plugs and replace any that are blown. Use a voltage tester to detect connection issues between the lights and strands. If all else fails, replacing the light strand may be the simplest solution.
Understanding why lights stop working can save time and money. Blown fuses, damaged wires, and faulty bulbs are the most common issues, but moisture exposure, overheating, and manufacturing defects can also play a role. With a few basic tools and a systematic approach, most problems can be resolved in under an hour, allowing you to enjoy a bright and festive holiday season.