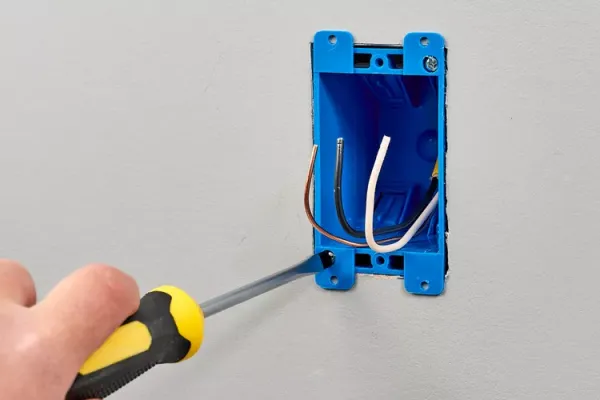
Homeowners looking to add an outlet or switch to an already-finished room can do so without tearing into drywall or plaster, thanks to a type of fixture known as an old work, or retrofit, electrical box. Designed for installation after wall surfaces are in place, these boxes use a clamping mechanism to anchor themselves securely to the surrounding material. The task typically takes 15 to 30 minutes for the box itself, though running new cable through walls can extend the project to several hours.
Old work boxes come in metallic (steel) and nonmetallic (PVC, phenolic resin, or fiberglass) versions. Metallic boxes require grounding, while nonmetallic types do not. Additionally, nonmetallic boxes are only compatible with nonmetallic sheathed cable (Type NM-B), whereas metallic boxes can be used with either NM-B or metallic sheathed cable. The choice depends on the existing wiring and local electrical codes.
These boxes are frequently used when extending an existing circuit to a new location in a finished space. Because there is no access to wall studs, the box relies on a two-part fastening system: retention tabs at the rear and mounting ears at the front. When the mounting screws are tightened, the rear tabs open and press against the back side of the drywall or plaster, while the front ears press against the wall face, effectively pinching the box in place.
Safety First: Cutting Power
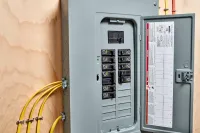
Before handling any live wiring, it is critical to shut off the circuit breaker that controls the circuit you are working on. If you are unsure which breaker that is, turning off the main breaker will cut power to the entire house. This step is non-negotiable to prevent electrical shock.
Step-by-Step Installation
The installation process begins with preparing the box. For PVC boxes, the integrated cable clamp may be stiff; prying it up slightly with a flat-blade screwdriver makes it easier to insert the cable later. Similarly, the retention tab screw may be tight from the factory. Tightening it slightly before installation cuts threads in the plastic, making final adjustment easier, then backing it out to its original position.
Next, mark the wall. Position the box against the wall at the desired location and trace its outline with a pencil, avoiding the mounting ears. Score the outline with a utility knife, then cut the hole using a keyhole saw. For plaster, drilling an access hole first can help start the saw blade. Some box styles may require a slightly larger hole where the retention tabs sit.
Before installing the box, run the cable to the opening. For a simple circuit extension, one NM-B cable is typical; more complex setups may require two. Ensure the cable is sized for the circuit amperage and leave 8 to 12 inches of excess at the opening. The cable should not be connected to any devices yet, and if it is already connected at the source, the breaker must be off.
Feed the cable through the wall opening, then strip about 6 inches of the outer sheathing using a cable stripper or a utility knife, being careful not to damage the wire insulation. Insert the stripped cable into the box, ensuring the sheathing is secured under the clamp and that 1/2 to 1 inch of sheathing extends into the box. Leave 6 to 7 inches of exposed wire.
Place the box into the wall hole, holding the front ears flush against the wall. Tighten the two retention screws; this flips the tabs and draws them against the back of the drywall, securing the box firmly. Finally, strip 3/4 to 1 inch of insulation from each conductor using a wire stripper, and attach wire nuts to the ends for safety until you are ready to make the final connections.
Once the box is secured and wires are prepped, it is ready to receive an outlet receptacle or switch. For those considering a ceiling fan, it is essential to use a box rated to support the fan's weight; always check the manufacturer's label.
Note: This guide is for informational purposes. If you are not experienced with electrical work, consult a licensed electrician.